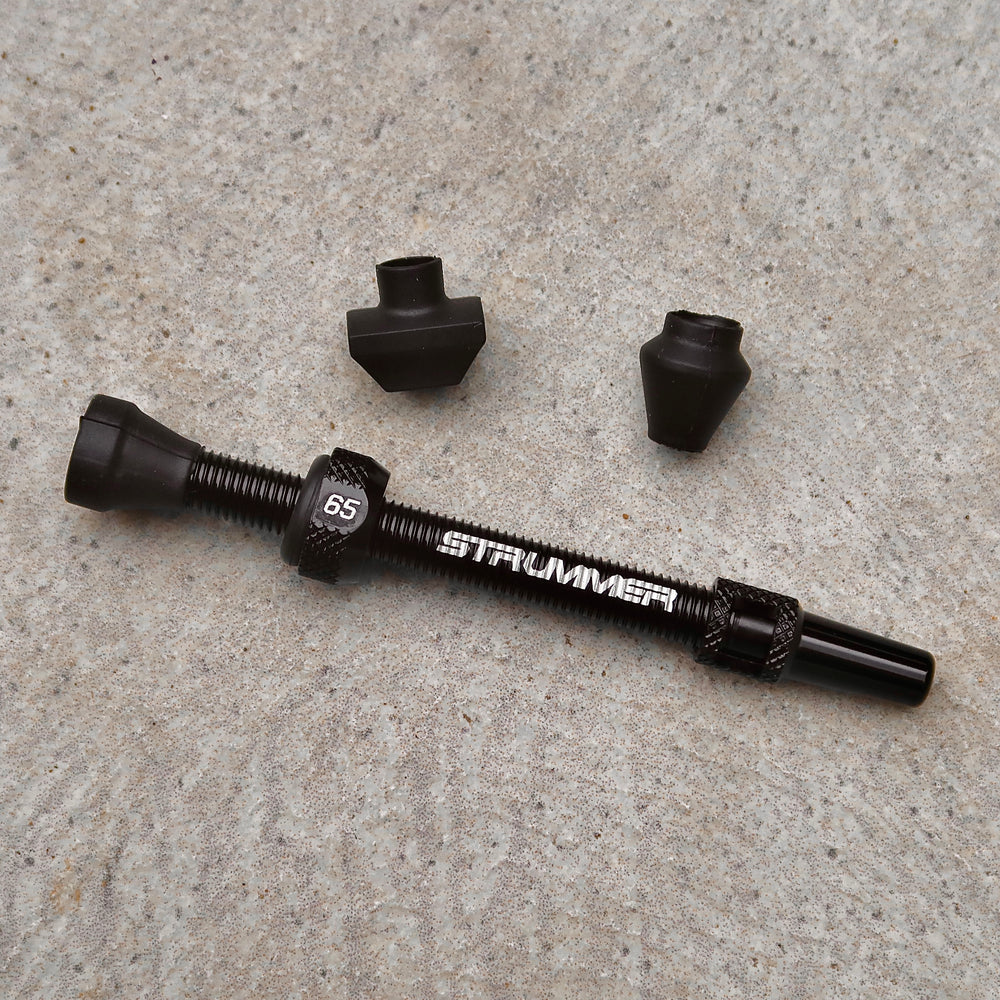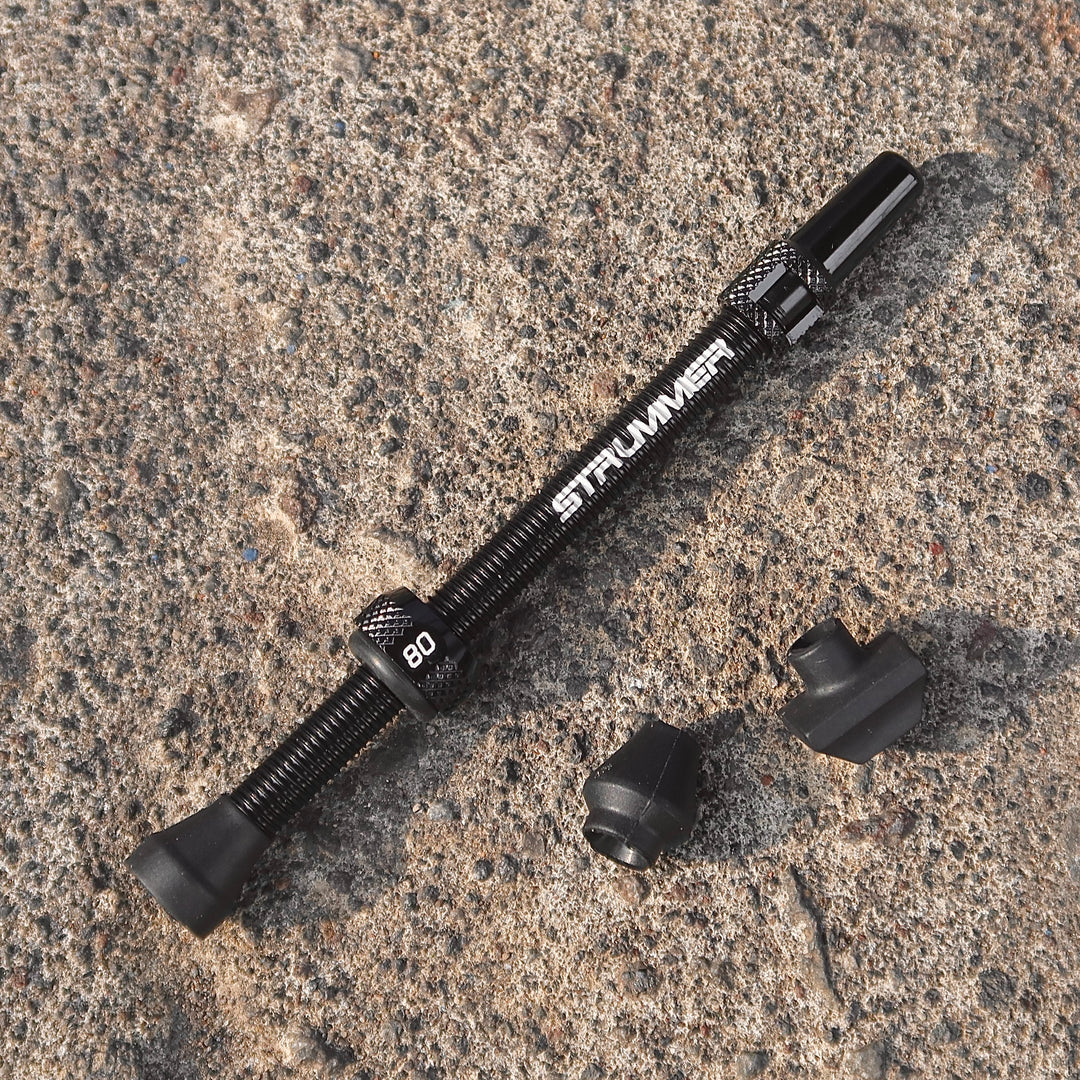
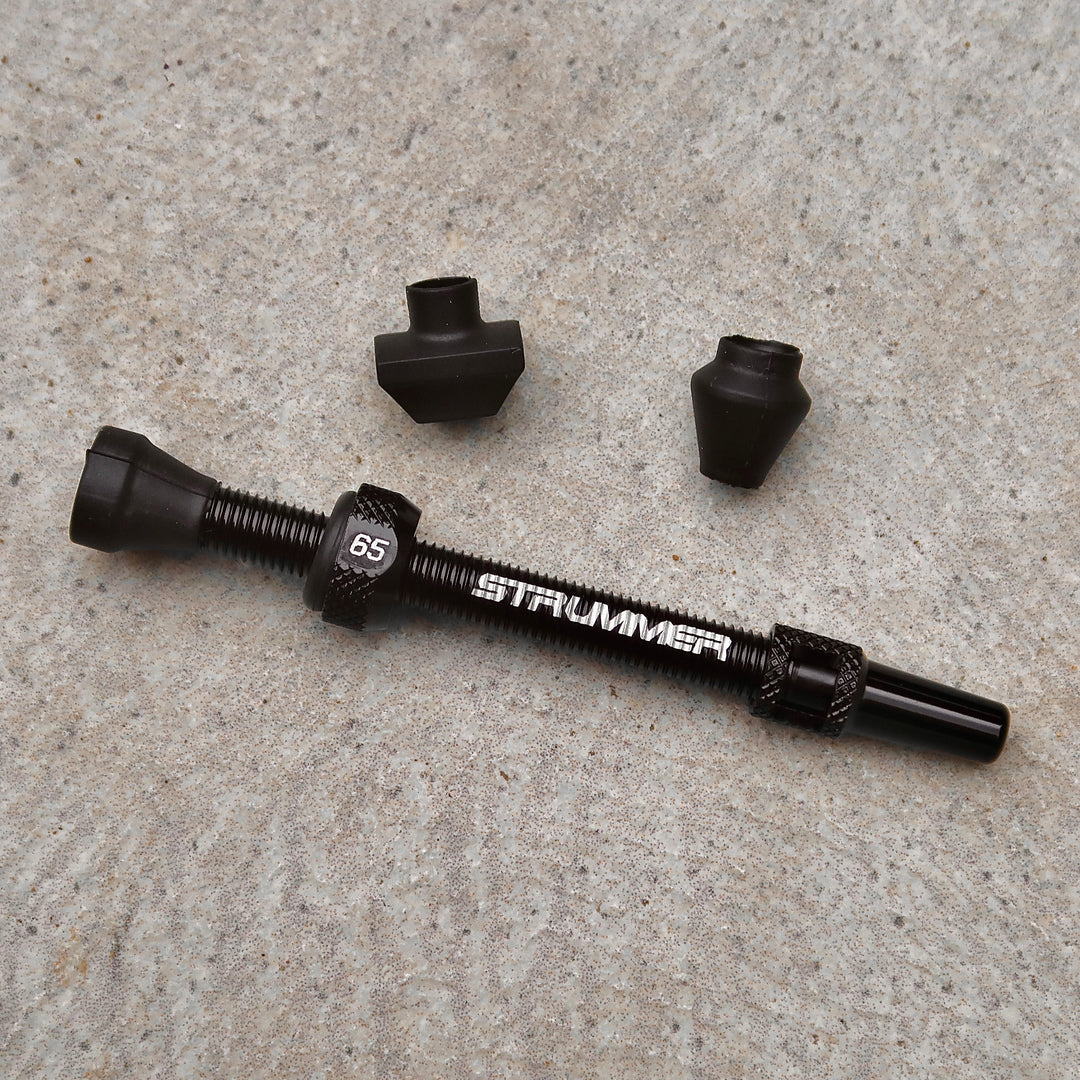
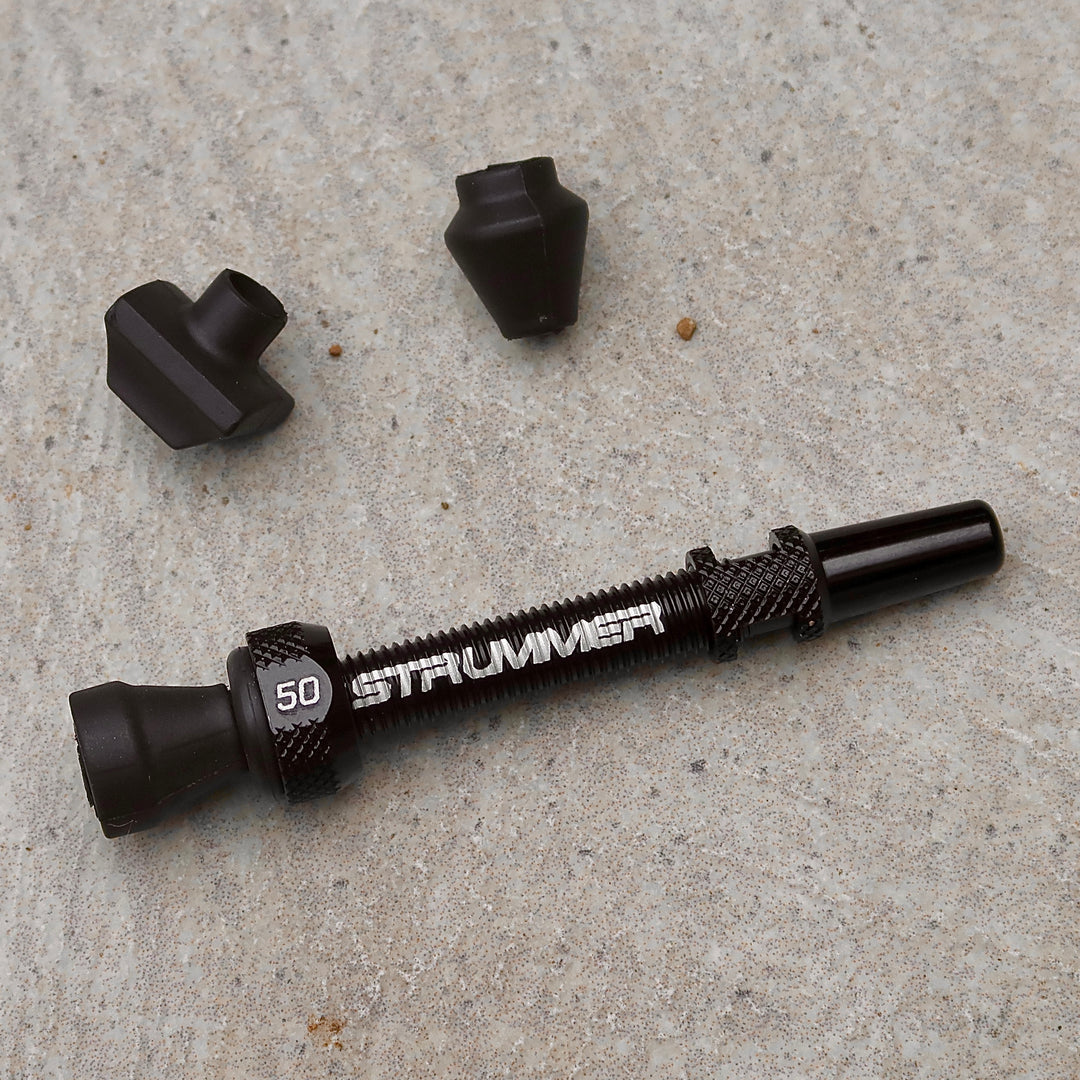
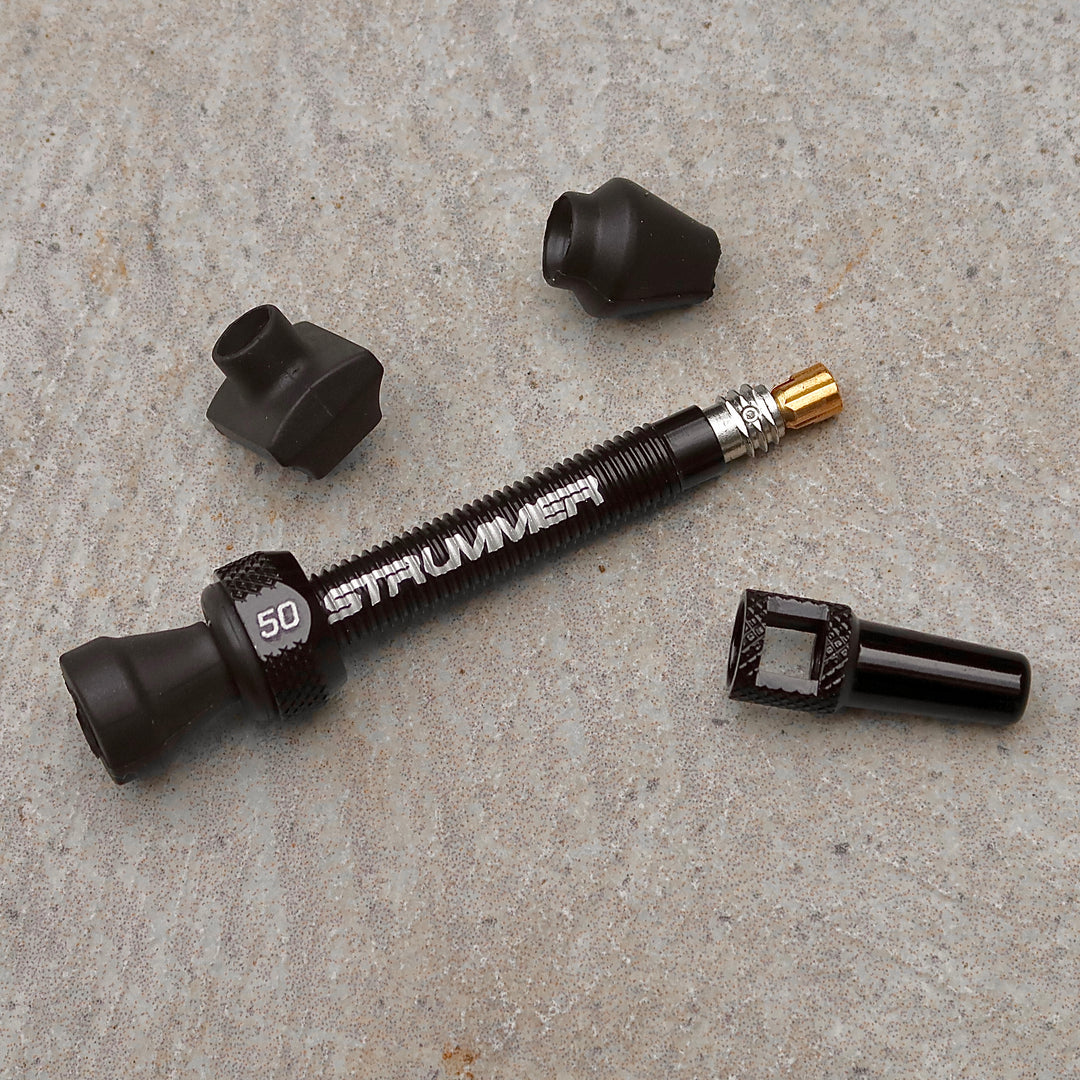





Enhance the performance of your wheelset with Strummer Tubeless Valve. Designed using CNC Machining technology from AL7075 material, this valve offers the perfect combination of extremely lightweight and robust structural strength.
Premium AL7075 Material: Ensures maximum strength with minimal weight for wheel rotation efficiency.
Integrated Valve Core Remover: The valve cap doubles as a core removal tool. Convenient for filling sealant without needing to carry extra tools.
Custom Fit (Changeable Rubber): Comes with three different rubber sizes in each package. You can adjust it to the internal contour of the rim to ensure an airtight and perfect seal.
Identity & Authenticity: The Strummer logo and length information are clearly printed on the valve body as a guarantee of original product quality.
To ensure the pump head can lock perfectly, we recommend the maximum rim height (rim depth) as follows:
| Valve Length | Maximum Rim Height (Depth) | Usage Recommendations |
| 50 mm | Max. 30 mm | Ideal for low-profile rims (Example: Strummer Hyper SLR D25, Tempo30, Hyper30). |
| 65 mm | Max. 45 mm | Ideal for medium-profile rims (Example: Strummer Hyper SLR D41.5). |
| 80 mm | Max. 60 mm | Ideal for high-profile rims (Aero/Deep Section). |
Material: Aluminium AL7075, CNC Machined, Anodized Finish.
Valve Type: Presta (FV).
Special Features: Changeable Rubber, Integrated Core Remover.
Product Length & Weight:
50 mm: 5 grams
65 mm: 6 grams
80 mm: 7 grams
Package Contents: The price listed is for 1 Set (1 valve). For use on one bicycle unit (front and rear wheels), you will need 2 Sets.
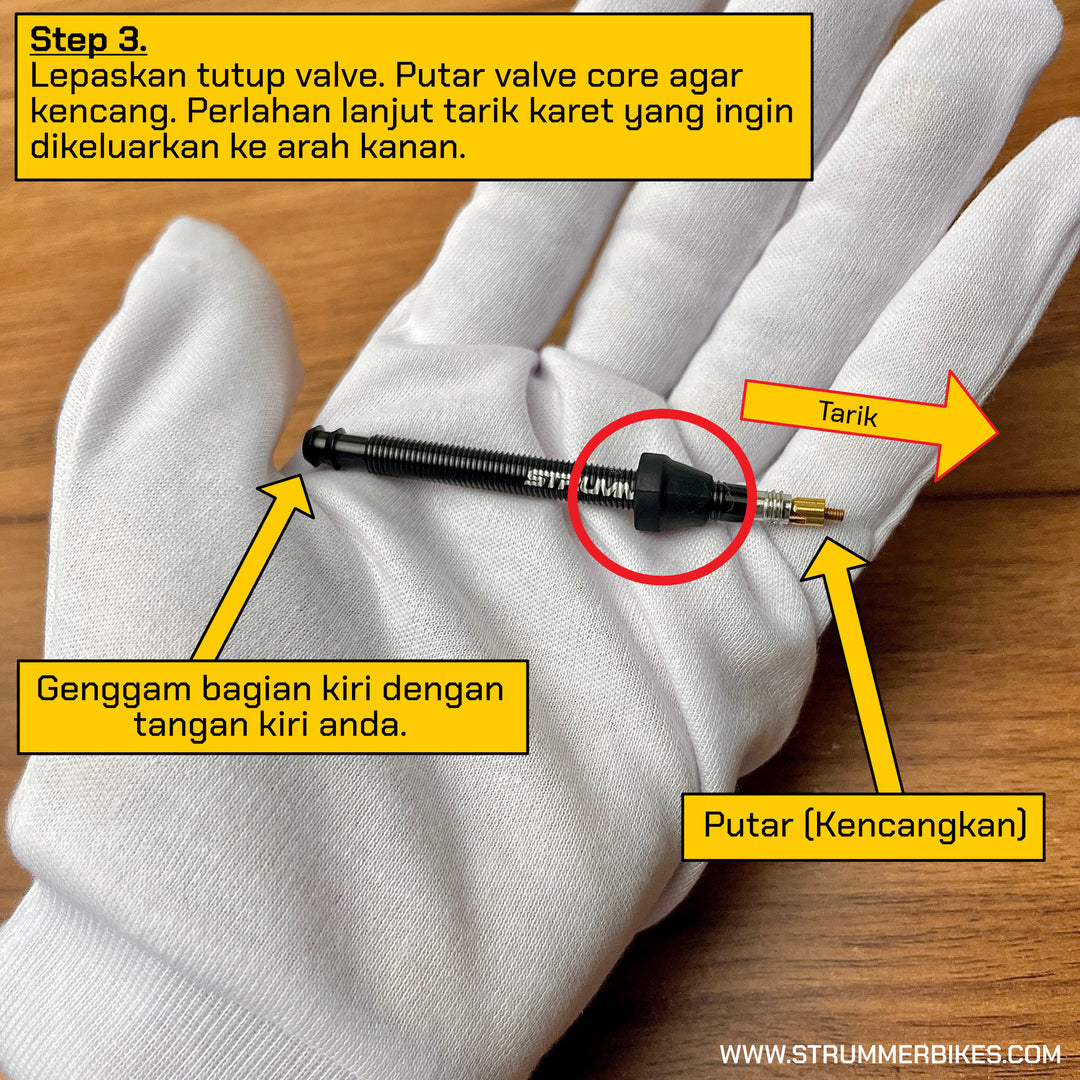
Valve Core Note: On first use, the valve core may feel a bit tight to remove due to factory assembly. This is normal. Use a core remover on the valve cap to loosen it slowly. After the first removal, the subsequent open-close process will become easier.
Installation Suggestions: Simply tighten the locking nut (lock nut) using your fingers. Excessive use of tools (pliers) is not recommended to avoid damaging the seal rubber or the rim surface.
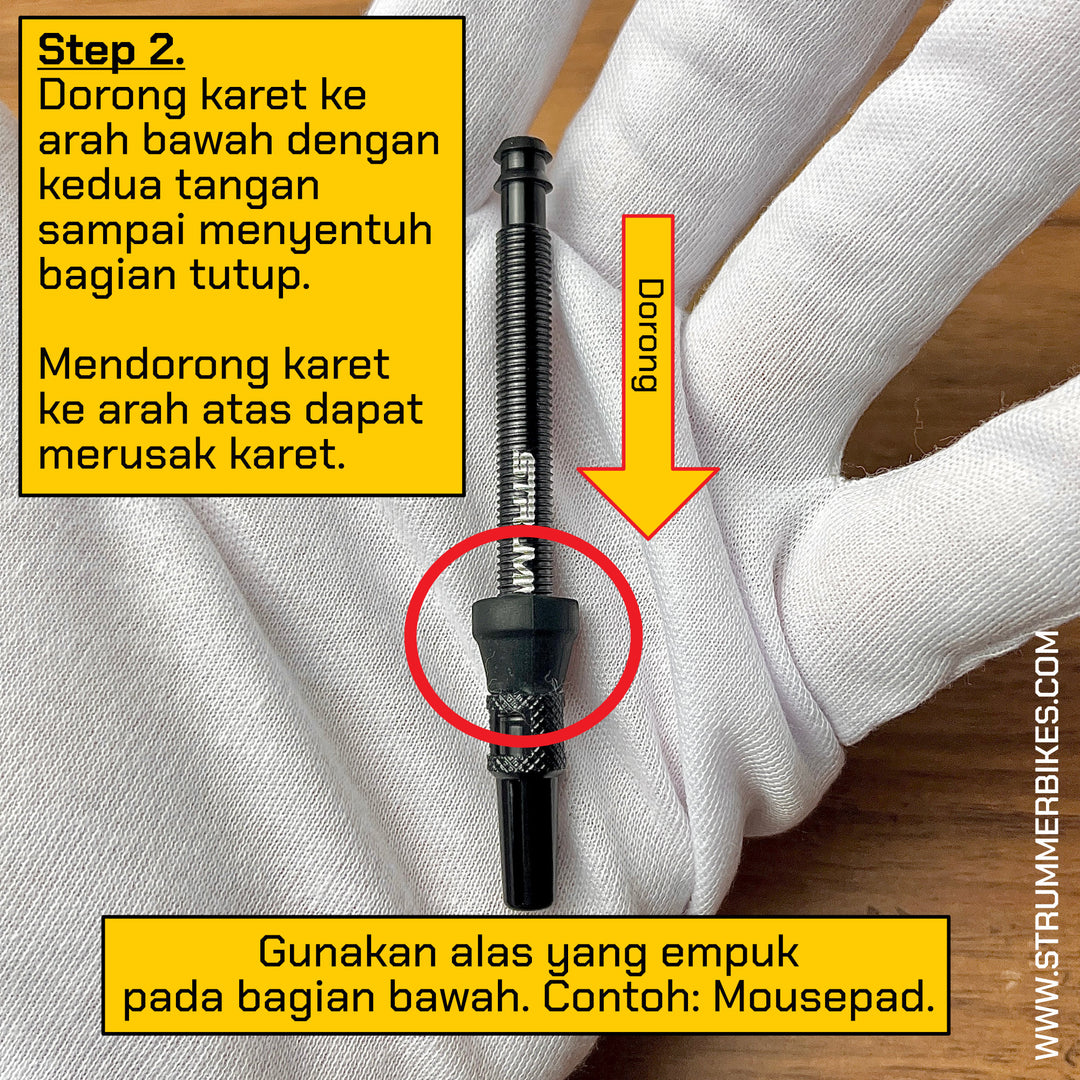
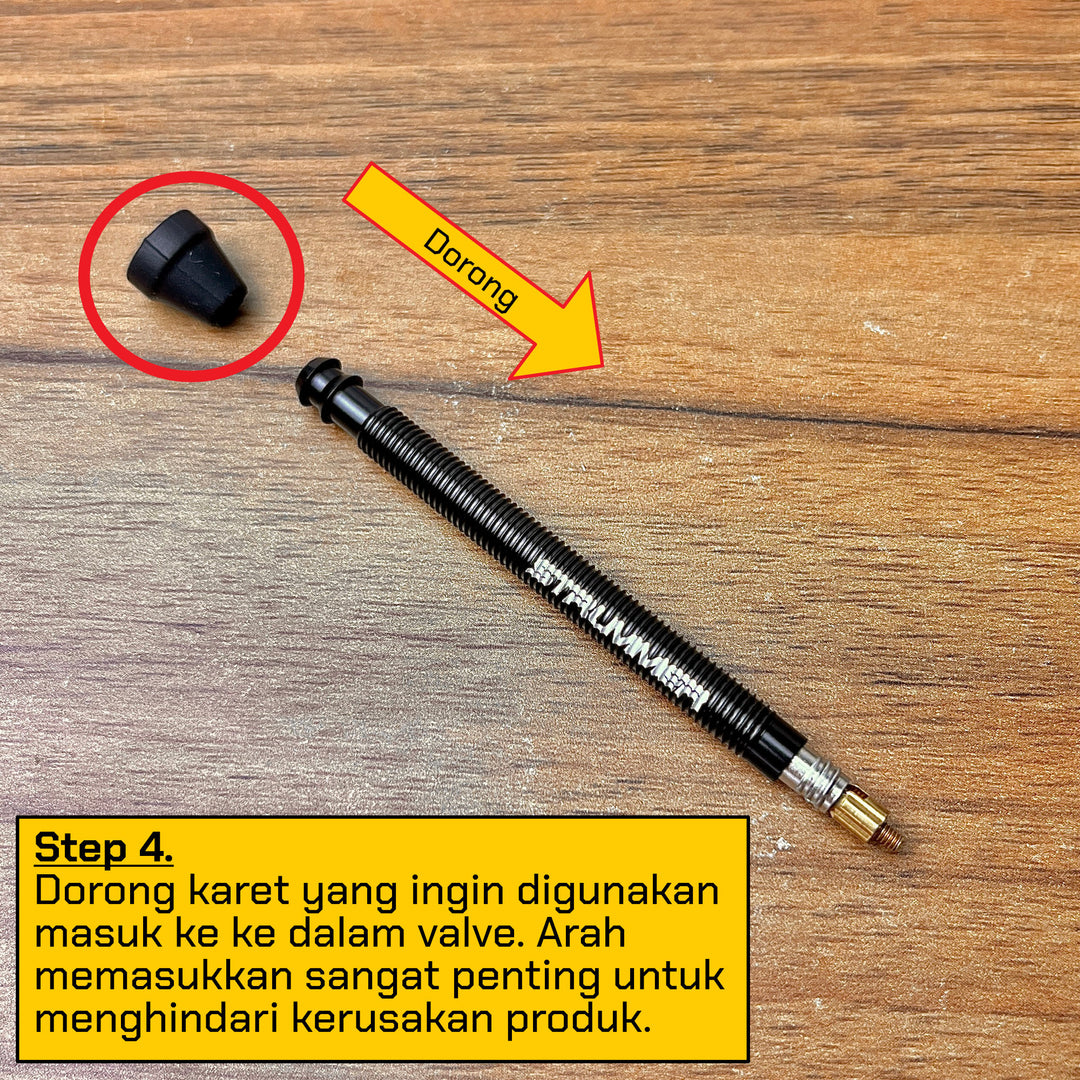
To avoid damage to the product, follow the instructions below to replace the rubber on the valve. To enhance comfort and reduce pain in your hands/fingers, please use gloves.

 Use a soft surface to avoid damaging the product, and also to prevent the product from shifting while pushing the rubber downwards. We tried using a mousepad, and we found that it was quite effective. Ensure the valve cap is securely locked. Push the rubber down with your fingers on both the left and right hands until it touches the valve cap.


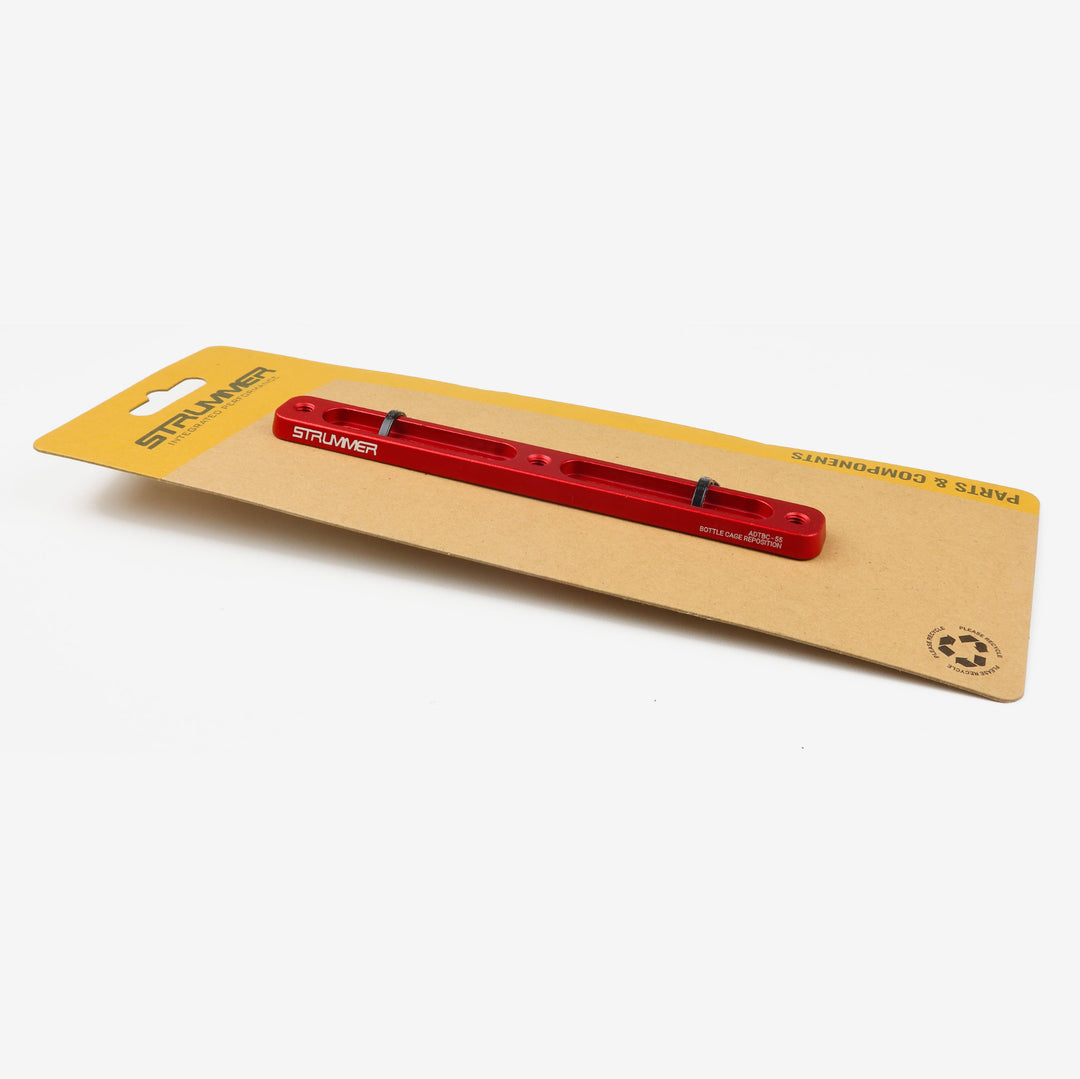
With this bottle rack adapter, riders can adjust the position of the bottle rack up or down by a maximum of 55 mm. After making the shift, there will be more space to install a frame bag, or clearance for the rear shock of a full suspension MTB bike.
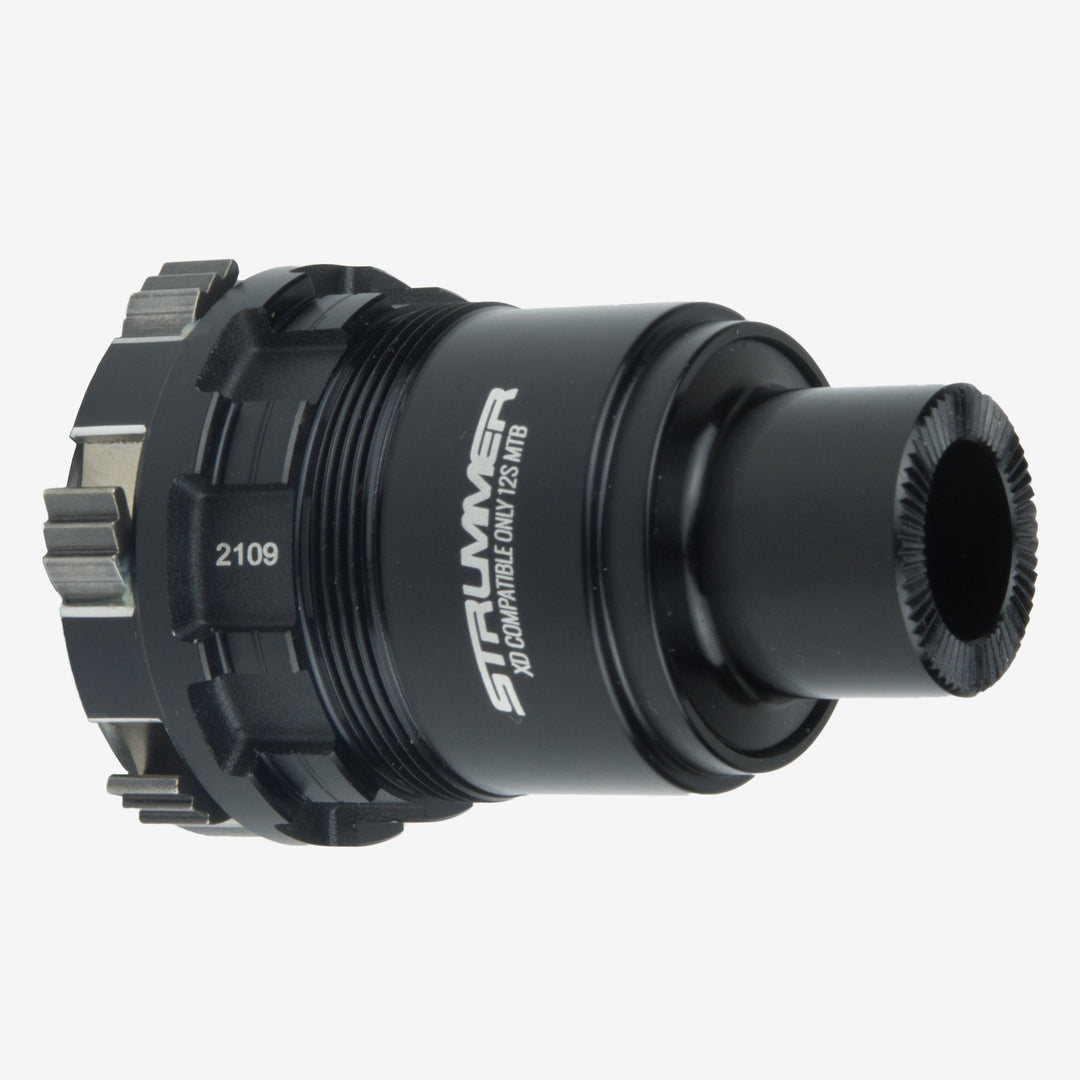
Freehub body with XD & XDR system is available for several types of Strummer hubs. By installing this freehub body, riders can mount a cassette sprocket that has a specific thread or locking mechanism from SRAM. In addition to XD & XDR, we also provide other freehub bodies such as Microspline MTB 12 Speed.

A solution for riders who want additional performance at high speeds. The Hybrid Ceramic Bearing Strummer uses black ceramic balls. These balls are smoother, finer, and harder than steel. They have less friction. Available in various sizes.